Homemade tomato paste is an entirely different and utterly more delicious, better than the kind you can buy at the supermarket. It takes about a day to make, and in the end, you’ll have enough tomato paste to last you through several cooking projects.
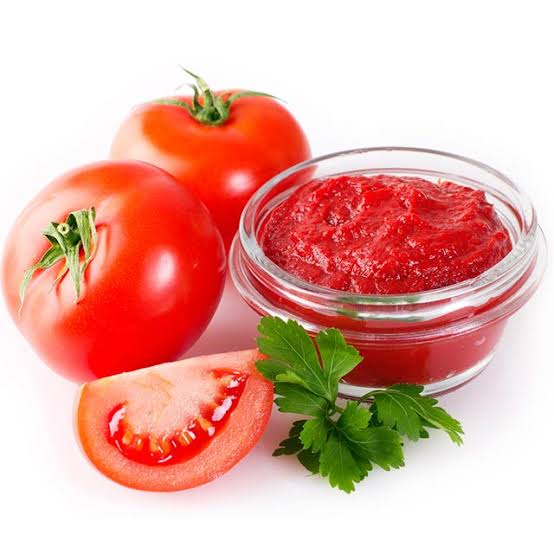
When you make it yourself, you get to choose the tomatoes you use, and thus the flavor of the finished concentrate. Slow-cooking also gives the paste a hearty, rich flavor unlike the store-bought counterpart.
Here is how u can make tomato paste.
INGREDIENTS
10 pounds tomatoes
2 tablespoons olive oil
2 teaspoons sea salt
1/2 teaspoon citric acid, or 2 tablespoons bottled lemon juice
EQUIPMENT
Cutting board
chef’s knife
Large pot
Food mill, and sieve
2 rimmed baking sheets or 1 roasting pan
ounce jars, for storing
INSTRUCTIONS
Preheat the oven to 350°F. Arrange 2 racks to divide the oven into thirds and heat to 350°F.
Chop tomatoes into quarters.
* If you’re using plum tomatoes, cut them in half lengthwise. If you’re using large, round tomatoes, cut them into quarters.
Simmer the tomatoes with the olive oil. Place the olive oil in a large pot over medium-high heat until shimmering. Add the tomatoes and cook until soft and the peels begin to detach from the tomato flesh.
Push the warm tomatoes through a food mill and sieve to separate the tomato pulp from the seeds and skins. Stir the sea salt and citric acid or lemon juice into the pulp. Discard the seeds and skins.
Divide the tomato pulp between 2 large, rimmed baking sheets. You can also use a large roasting pan, but it will take longer to cook down that way.
Bake the tomato pulp until reduced to a paste. Place the baking sheets in the oven. Check the tomatoes every half hour, stirring the paste and switching the position of the baking sheets so that they reduce evenly. Over time, the paste will start to reduce to the point where it doesn’t fill the baking sheet any more. At this point, combine the contents of the two baking sheets into one and continue to bake.
Bake until reduced by more than half. The paste is done when shiny, brick-colored, and reduced by more than half, 3 to 4 hours, though exact baking times will depend on the juiciness of your tomatoes. There shouldn’t be any remaining water or moisture separating from the paste at this point.
Let the tomato paste cool to room temperature.
How to preserve it in a can
Use a spoon and transfer the paste to a clean jar, tamping it down to make sure there are no air pockets. Level the surface with the back of the spoon. Cover the surface completely with olive oil so that the paste isn’t exposed. Screw the lid on the jar.
After you fill each jar with tomatoes, add 1 teaspoon of lemon juice per half pint jar or 2 teaspoons of lemon juice per pint jar. This helps to reduce the odds of spoilage and to retain color and flavor. Then make sure it is filled to 1/4-inch of the top with paste.
Put the lids and rings on Just screw them on snugly, not too tight. If the is any tomato on the surface of the lip of the jar, wipe it off first with a clean dry cloth or paper towel.
Be sure the contact surfaces (top of the jar and underside of the ring) are clean to get a good seal!
Boil the jars in the water bath canner Put them in the canner and keep them covered with at least 1 inch of water. Keep the water boiling. Process the jars in a boiling-water bath for 45 minutes for half-pint or pint jars. Larger jars are not recommended, but you may use smaller jars at the same processing duration.
Lift the jars out of the water and let them cool without touching or bumping them in a draft-free place (usually takes overnight) You can then remove the rings if you like, but if you leave them on, at least loosen them quite a bit, so they don’t rust in place due to trapped moisture.
Once the jars are cool, you can check that they are sealed verifying that the lid has been sucked down.
Note: if you want to freeze the paste instead, just let the paste cool to room temperature, then fill your freezer containers (I like Ziploc freezer bags in the quart size), fill them completely, eliminate air pockets, seal them and pop them in the freezer. You’re done!